Experience The Magic Of Pet Embossing
If you’re a pet lover, you know that every wagging tail, every happy purr, and every playful nudge is worth celebrating. A fun way to capture these treasured moments is by using a pet embossing seal in your crafts. With this simple tool, you can transform ordinary paper into keepsakes that reflect your furry companion’s personality. Whether you’re new to paper crafts or a seasoned pro, you’ll find that a pet embossing seal opens up limitless possibilities for heartfelt projects that truly stand out.
A pet embossing seal works by creating a raised, textured impression on paper or cardstock. Think of it as a decorative stamp that results in three-dimensional designs. The effect is subtle yet elegant, and it brings a tactile dimension to your work. You can use the seal to embellish greeting cards, scrapbook pages, gift tags, and even stylish notebook covers. Whenever you run your fingers over those raised details, you’ll experience a sweet reminder of your beloved pet. Getting started is easier than you might think. All you need is the seal itself, sturdy paper or cardstock, and a basic workspace. The results can look like a professional press machine produced them, but your personal touch is what makes the projects meaningful. In this guide, you’ll discover helpful techniques, creative ideas, and plenty of practical tips for making the most of your pet embossing seal. By the end, you’ll be ready to craft with confidence, fueled by the love you have for your four-legged friend.
Above all, remember that this is your chance to unleash your creativity. Adding a personal, pet-themed flair to your stationery is an act of pure joy. Whether you’re making holiday cards featuring a loyal Golden Retriever or thank-you notes with a graceful cat silhouette, let this hobby bring a smile to your face and to everyone who receives your heartfelt creations.
Prepare Your Crafting Space
Before you begin working with your pet embossing seal, take a moment to set up your space. You don’t need a fancy studio. All that matters is having a clear, well-lit surface where you can spread out your materials. When you’re comfortable and free of clutter, your mind naturally feels more open to creativity.
- Choose a flat, stable table or desk where you can position your paper with minimal slipping.
- Make sure there’s enough natural or artificial light to see details clearly.
- Keep your essential supplies—scissors, adhesives, markers, and decorative papers—within easy reach.
One of the challenges of crafting can be disorganization—scattered scraps of paper, missing tools, or that one special trim you put “somewhere safe” but can’t locate now. To avoid these pitfalls, gather everything you need before you get started. If you plan to incorporate paint or ink into your final design, keep some protective sheets or old newspapers handy so you don’t end up with a messy table.
Once you have a neat workspace, diving into your pet embossing seal project feels more intuitive. You’ll be able to apply the seal with even pressure and avoid mistakes that can come from rushing or being cramped. Plus, having an organized environment means you can switch between creative techniques effortlessly. You may start stamping an embossed imprint one moment and then decide to add color or embellishments the next, all without breaking the flow of your crafting session.
Choose The Right Seal Design
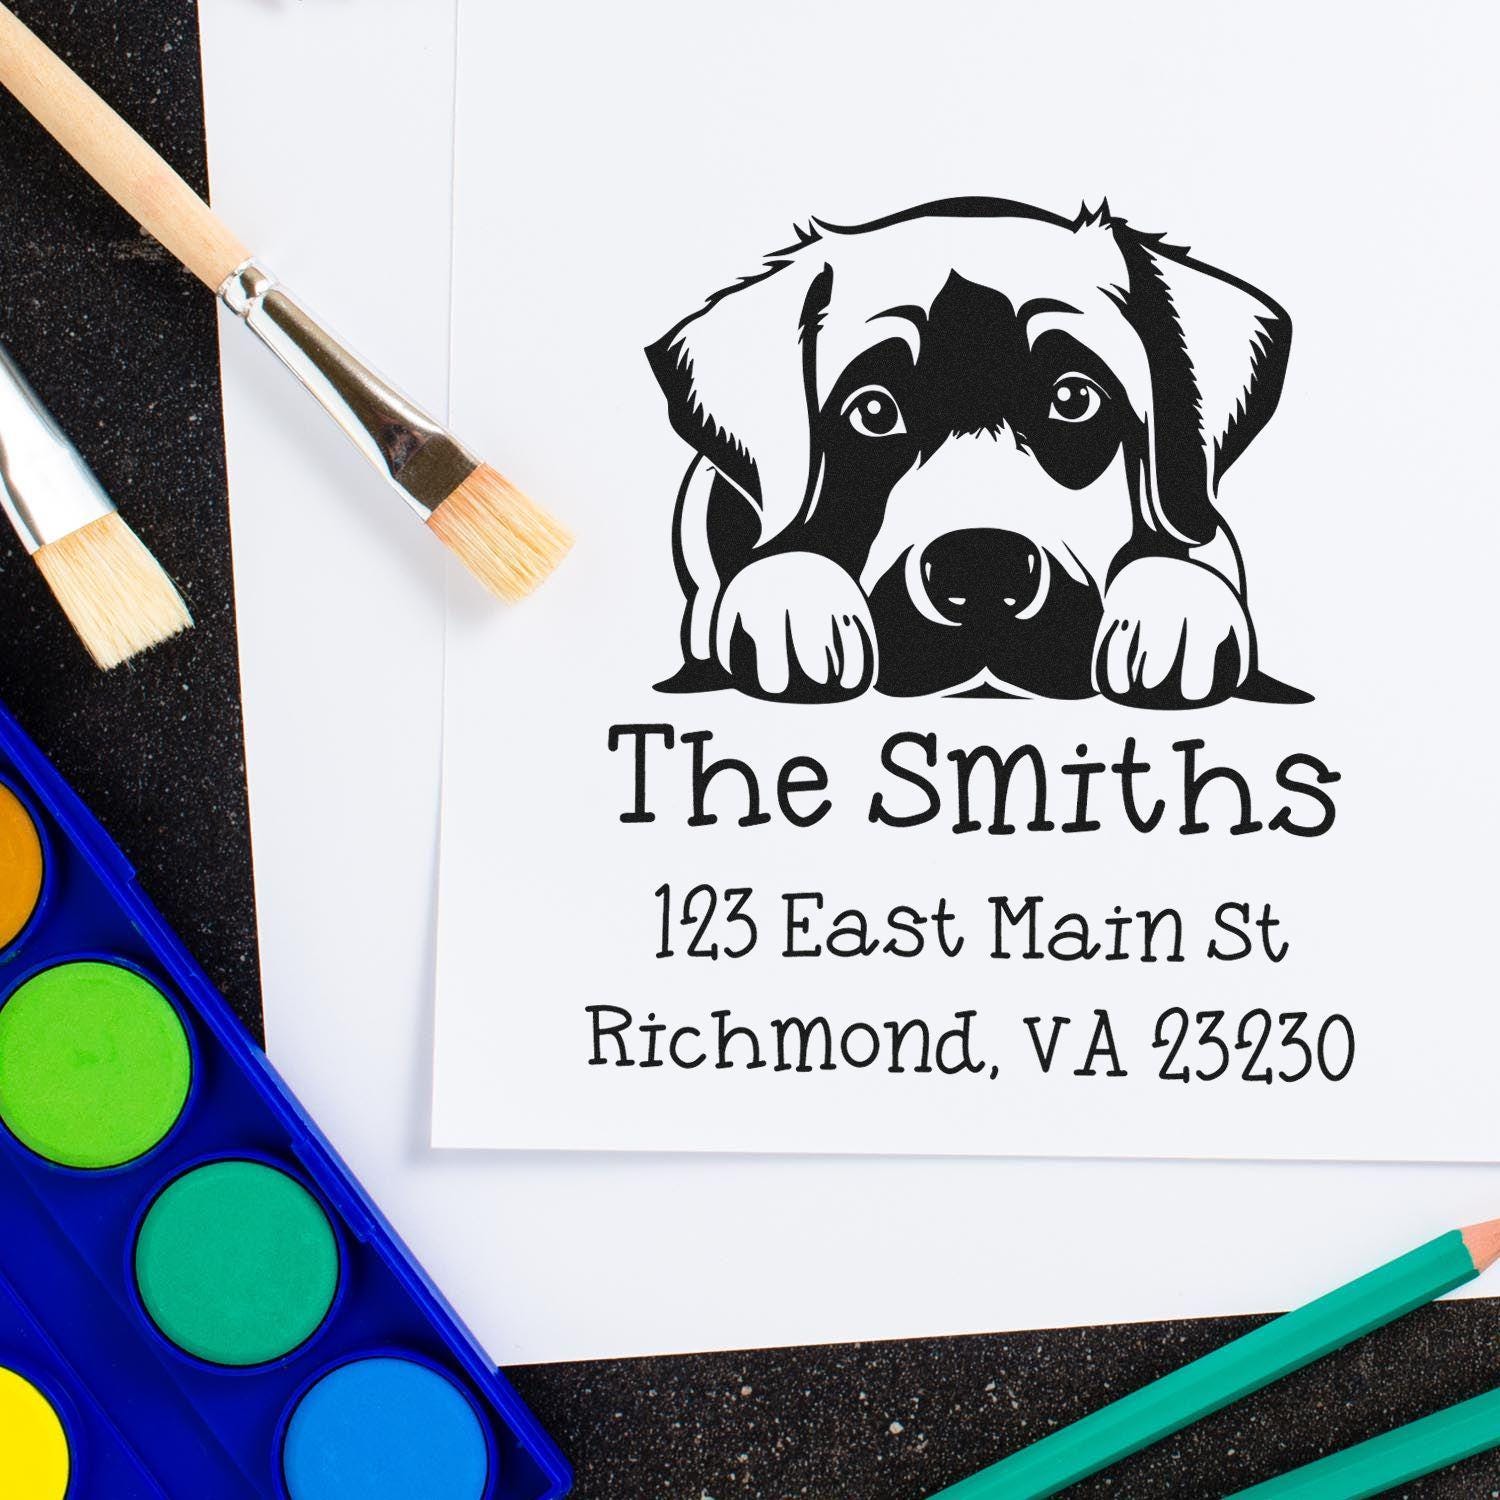
When it comes to a pet embossing seal, the design you pick sets the tone for all your crafts. Maybe you want a playful paw print that seems to dance across any page you press it on. Or perhaps you’re searching for a whimsical silhouette of a cat perched on a windowsill. Ultimately, the design should speak to you and reflect your pet’s unique charm.
To narrow your options, think about the projects you’ll be creating. Are you making stationery for everyday use, or do you plan on creating a series of seasonal pieces—like holiday cards or birthday invitations? Once you have a general idea of how you’ll use the seal, focus on the design details that bring out the best in your pet’s likeness.
- Paw Prints: Ideal for capturing the essence of a dog’s energy or a cat’s graceful step.
- Silhouettes: A quick profile of your pet’s face or body shape can look timeless.
- Simple Line Art: Clean, modern lines give a minimalist vibe if you’re aiming for a contemporary feel.
- Fun Cartoon Illustrations: Great for lighthearted projects that make people smile.
If you want to customize your pet embossing seal even further, consider working with a supplier that specializes in personalized stamps. Acorn Stamps, for example, is a family-owned and operated company that has been helping crafters like you achieve their dream designs for 60 years—since 1964. With stellar customer service and super fast turnaround, they take pride in getting every little detail right. Whether you want your pet’s name embedded in the design or a special shape that’s unique to your pet’s breed, it’s all possible with the right supplier. By choosing carefully, you’ll ensure your seal captures your furry friend’s spirit perfectly.
Gather Essential Materials
Think of your pet embossing seal as the star of the show. Still, a solid supporting cast of tools and materials makes all the difference in your final creation. The items you pick can help you achieve crisp, clean impressions and add interesting finishing touches.
- Embossing Seal or Press
This is your primary tool. Make sure it’s well-crafted and features a sharp, clear design.
- Cardstock or High-Quality Paper
Look for paper that’s thick enough to hold an embossed design. Heavy cardstock or textured paper often works best because it won’t tear or warp under pressure.
- Pencil and Ruler
Lightly mark where you want impressions to go. This is especially important if you’re creating a pattern or aligning text.
- Adhesives and Fasteners
You might need glue sticks, tape runners, or decorative washi tape to attach embossed pieces to your projects.
- Decorative Add-Ons
Inks, stamps, stickers, ribbons—these items let you add layers of color and personality once the embossing is complete.
- Cutting Tools
Keep a pair of sharp scissors or a craft knife on hand if you plan to trim out embossed shapes or cut cardstock down to size.
- Protective Materials
Paper towels, scrap paper, or a cutting mat can keep your crafting area neat, especially if you’re working with wet glue or ink. Once you have everything in one place, it’s easy to jump from step to step without searching for missing items. Plus, gathering your materials ahead of time helps you fine-tune your process. As you assemble these essentials, you might even start picturing how your final pieces will look. For example, if you’re using gold foil stickers alongside your embossed paw print, you can start imagining the contrast of shiny metallics against the raised paper design.
Master The Embossing Process
Position Your Paper
Positioning the paper is a simple but crucial step in creating a beautiful embossed impression. Start by laying your cardstock—or any sturdy paper of your choice—flat on your work surface. If your design needs to be centered or repeated in a pattern, use a ruler to lightly mark guidelines with a pencil. This ensures you place each embossed shape exactly where you want it.
Apply Even Pressure
Next, place your pet embossing seal over the marked spot. Gently squeeze the handle or press down, depending on the type of seal you have. The goal is to apply firm, even pressure so the design transfers smoothly. Avoid shifting the seal as you press, since any movement can blur the final image. If you’re new to embossing, don’t worry if you don’t get it perfect the first time. A little practice with scrap paper quickly helps you figure out how much force to use
.
Assess The Results
Once you release the seal, lift it away carefully to reveal your design. If the impression looks shallow or uneven, adjust your technique. Sometimes you simply need to press more firmly. Other times, it might help to place a thin protective sheet beneath your paper for added support. Keep refining until you achieve the embossed look you’re after—clean, crisp lines that show off every curve, whisker, or paw pad in your chosen design. The beauty of this process is that it’s straightforward. After a few tries, you’ll likely feel confident. Then, it becomes second nature to emboss your card edges, create a quick accent in the corner of a photo mat, or brand your envelopes with your pet’s cute silhouette. The more you do it, the more you’ll uncover new ways to incorporate this special touch into your paper crafts.
Explore Creative Project Ideas
It’s easy to fall in love with how a pet embossing seal looks on paper. However, the real magic happens when you start brainstorming different ways to use it in your projects. Here are some ideas to spark your imagination.
Personalized Greeting Cards
A thoughtful greeting card can uplift someone’s day—especially when it features a custom impression that reminds them of a cherished pet. You can keep it simple with a single paw print in the corner or go all out by embossing multiple designs around the edges. Write a personal note inside to complete the heartfelt message.
Foil-Accented Journals
If you’re a big fan of journaling or bullet journaling, consider embossing your pet’s silhouette on the cover. For extra flair, add a metallic foil around the design so it shimmers whenever the light hits it. Every time you pick up that journal, you’ll have a small reminder of your pet’s warmth and love.
Pet-Themed Gift Tags
Imagine handing someone a gift and seeing their face light up at the adorable embossed paw print or cat face adorning the tag. These tags are simple to make in bulk, and they add a personal twist to any present. Use a hole punch to thread a ribbon or twine through, and you’re all set.
Homemade Invitations
Planning a birthday party or a pet adoption anniversary celebration? Impress guests from the moment they open the envelope by embossing a playful design on each invitation. You could combine it with bright colored paper to create a cheerful vibe that sets the tone for a fun gathering. These projects are only the beginning. A pet embossing seal can elevate scrapbooking pages, stationery sets, bookmarks, and even wall art. It’s especially charming for those times when you want to thank a fellow pet lover or elevate a simple note into a memorabilia-worthy keepsake. Each imprint you make is a testament to the special bond you share with your pet, turning the art of paper crafting into a meaningful expression of love.
Incorporate Color And Texture
A classic embossed design catches the eye, but you can take it even further by playing with color and texture. Small additions like inks, paints, glitter, or layering techniques transform a basic imprint into a vibrant showcase piece.
Experiment With Inks And Paints
Once you’ve embossed your design, gently dab a sponge or brush loaded with ink or watercolor paint over the raised edges. This technique highlights the outline of the impression, making it “pop” against the background paper. You might stick to neutral hues that complement a warm paw print, or you could choose bright, playful colors for a more whimsical look. If you’re worried about smudges, work in thin layers, letting each coat dry before applying the next. This slow build-up of color ensures you get the perfect hue.
Combine Embossing With Stamping
There’s no rule that says you can’t layer different methods. Using rubber or acrylic stamps alongside your embossed impressions creates multi-dimensional designs. For instance, you could first stamp a background pattern in soft pastel inks, let it dry, and then emboss a paw print on top. The layered effect makes for a visually appealing piece, bridging the gap between two popular paper crafting techniques. If you want a metallic finish, consider applying gold, silver, or rose gold leaf to your embossed design. With a small brush, you can apply adhesive only to the raised parts of the impression. Once the adhesive is tacky, place your metallic leaf sheet on top. Gently rub it onto the embossed pattern, peel away the excess, and you’ll have a stunning, glimmering highlight that feels both elegant and playful.
Color and embellishments make the design your own. After all, your pet’s personality might lean more toward cozy earth tones or, conversely, reflect a bold, adventurous spirit. Feel free to mix and match until you find a style that resonates with you. The main objective is to have fun and create something that honors your pet’s spirit while pleasing your artistic side.
Care For Your Pet Embossing Seal
Even though an embossing seal might seem like a bit of hardware you can stash away in a drawer, a little care goes a long way toward preserving its functionality. Proper maintenance helps guarantee that every press yields sharp, flawless impressions.
Clean After Each Use
Whenever you finish a session, take the time to clean the seal to remove paper bits, dust, or adhesive residue. A soft, dry cloth is typically enough for basic cleaning. If you used paint or ink, gently wipe the seal with a damp cloth, then dry it thoroughly. Avoid harsh solvents that could damage the surface or the delicate edges of the engraved design.
Store In A Safe Place
After cleaning, keep your embossing seal in a place where it won’t knock against heavier objects. If you have a craft drawer or container, reserve a small compartment that’s just for embossing tools. By storing your seal in its own space, you reduce the risk of accidental scratches or dents that can affect the impression. If your seal has removable parts, follow your supplier’s guidelines for disassembling and reassembling to avoid bending or misplacing crucial pieces.
Simply being thoughtful about how you handle, clean, and store your seal will preserve it for countless crafting sessions. Since you might be using this tool to celebrate your pet’s life story on paper projects for years to come, it’s worth the extra moment of routine maintenance.
Why Choose Acorn Stamps
In the realm of custom stationery tools, picking the right partner is crucial. Your embossing seal carries a lot of sentimental value—after all, it represents your pet. That’s where Acorn Stamps shines. If you’re going the route of a fully personalized pet embossing seal, you’ll want a supplier that values quality and care as much as you do.
Family-Owned And Operated
Acorn Stamps has been family owned and operated since 1964, with 60 years of service to crafters nationwide. Their decades of experience mean you’ll get a seal that’s precisely crafted and long-lasting.
Stellar Customer Service
One of the most reassuring aspects of working with Acorn Stamps is how they treat their customers. If you’re unsure about a design, or if you need advice on the best size or layout, their team is there to help you every step of the way. Whether you need a minor tweak or have a bigger request, you can count on personalized attention.
Super Fast Turnaround
Finally, there’s no waiting around forever to start crafting. Acorn Stamps prides itself on swift service. This means you can finalize your design, place your order, and have your custom seal in your hands faster than you might expect. When you’re eager to get creative, that quick turnaround can be a game-changer. Elevating your craft projects with a pet embossing seal is a joy, and choosing a reputable source helps you do it worry-free. Before you know it, you’ll be pressing that adorable paw print or silhouette all over greeting cards, bookmarks, or party invitations. The result is a piece of art that brings a smile to your face every time you see it.
Your Frequently Asked Questions
Below are some common questions you might have about getting started with a pet embossing seal. Each answer aims to help you feel confident and excited about taking on your next craft project.
What Type Of Paper Works Best With A Pet Embossing Seal?
Thicker, high-quality paper or cardstock is ideal. Lightweight paper may tear or crease under pressure, so go for sturdy sheets to ensure a clean, raised impression.
Can I Use Color Inks Or Paint Directly On The Embossing Seal?
It’s generally recommended to apply color after you emboss, by lightly brushing or sponging ink or paint over the raised edges. This technique helps you achieve a clear, defined design without clogging the seal.
Is A Custom Design Much More Expensive Than A Stock Design?
The cost can vary depending on complexity, but many crafters find that a custom design is well worth the investment. Working with a reliable supplier like Acorn Stamps can help you explore affordable options that still capture your pet’s unique features.
How Do I Maintain The Crispness Of The Engraved Details Over Time?
Proper storage and gentle cleaning do wonders. Keep your seal in a protected spot away from heavy objects. When you need to clean it, use a soft brush or gentle cloth to avoid wearing down the fine grooves.
Can I Emboss Materials Other Than Paper, Like Fabric Or Leather?
Some crafters do experiment with thinner leathers or fabrics, but results vary. Paper and cardstock remain the most reliable surfaces. If you choose to try embossing on other materials, test on a small scrap first so you can fine-tune your technique. Embracing a pet embossing seal isn’t just another crafting decision—it’s a way to keep your furry friend’s spirit at the heart of every creation. From the feel of that raised paw print to the playful silhouette that takes you back to silly moments, each embossed detail carries its own story. With the right tools, a dash of creativity, and a partner like Acorn Stamps, you’ll find endless opportunities to spread joy, one impression at a time. Take a moment today to plan your first project, whether it’s a vibrant birthday card for another pet lover or a quiet note of thanks with a subtle paw print accent. Once you notice how much character a simple embossing detail adds to your creations, you’ll never look at paper the same way again. Enjoy every press, every raised impression, and every heartfelt smile that follows.