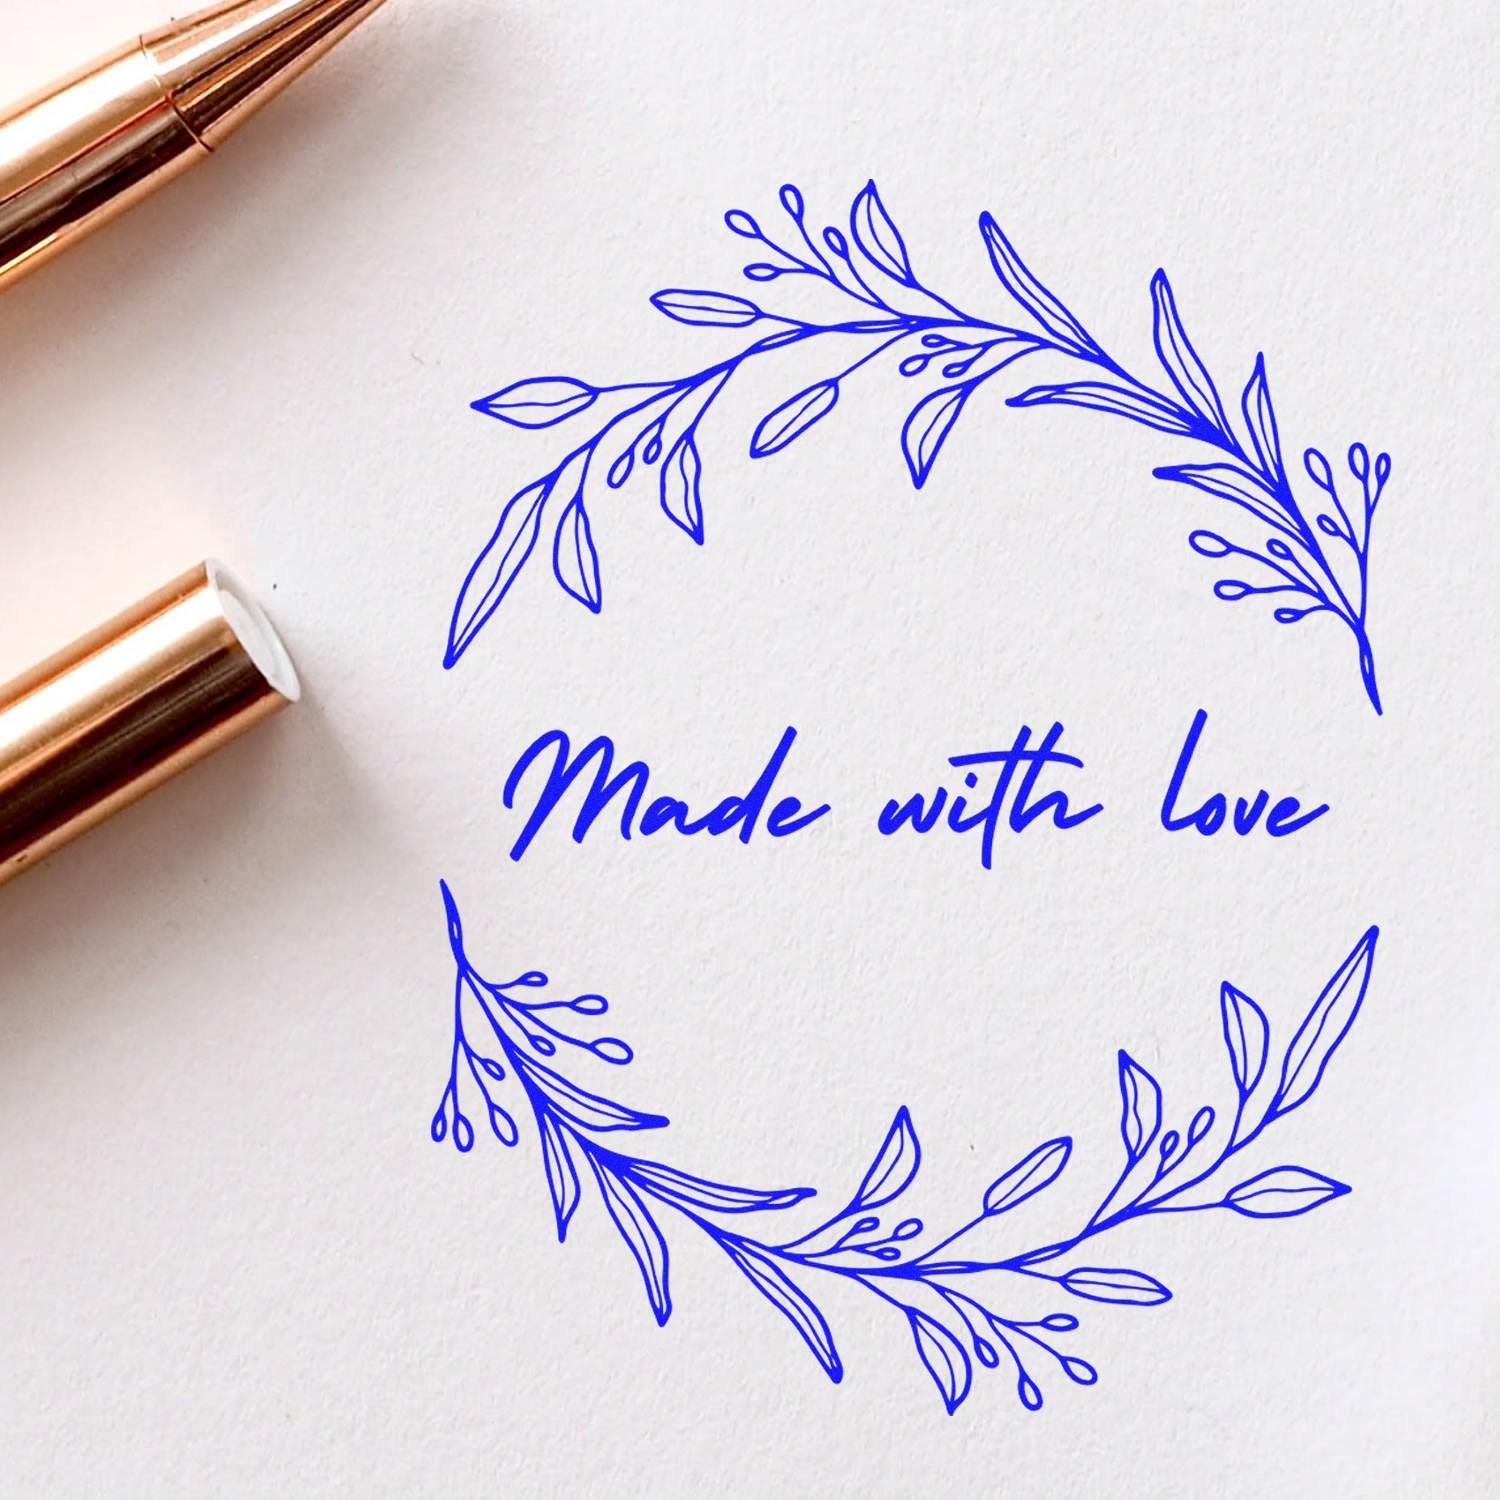
Embrace the Kitchen Made With Love Stamp
If you love adding personal flair to your homemade treats, a kitchen made with love stamp may become your new favorite crafting companion. Whether you bake cookies for a family gathering or prepare artisanal jams as heartfelt gifts, your stamp encourages a sense of authenticity and warmth with every impression. By stamping your packages, recipe cards, or even gift tags, you showcase the unique care you place into every creation. This guide will walk you through a variety of ways to use your new stamp effectively and creatively, so you can make the most of your time in the kitchen.
Understand the Power of Personalization
Personal touches help transform the ordinary into the extraordinary. When you personalize your kitchen goods and homemade gifts with a distinctive stamp, you’re adding a statement that says, “I made this just for you.” This meaningful approach stands out in a world of mass-produced items.
Why Personalization Matters
- Creates Deeper Connections
When you say “made with love,” you truly mean it. Personalization bridges the gap between your kitchen and the recipient’s experience, reminding them they’re truly valued.
- Showcases Your Crafting Passion
Let your creativity shine each time you seal a cookie box or label your homemade salsa jars. Your stamp is a reflection of your vision—unique, warm, and joyful.
- Encourages Repeat Engagement
Loved ones will remember a handmade gift that’s thoughtfully tagged or labeled. They’ll look forward to your next creation, knowing every detail is packed with care and intent.
Explore Stamp Possibilities
Your kitchen made with love stamp can be used for so much more than simply marking cookie bags. By experimenting with different materials, surfaces, and project ideas, you’ll discover countless ways to add extra charm to your culinary and crafting endeavors.
Common Uses for Kitchen Stamps
- Gift Tags: Attach a small, stamped tag to a wrapped basket of muffins or a bundle of homemade soaps.
- Labels: Identify unique flavors of jam or jars of spice blends with distinct flourishes.
- Recipe Cards: Elevate classic hand-me-down recipes by stamping the corner of each card, giving them a cohesive, branded look.
- Scrapbooks: Document your family’s signature dishes with a stylish stamped accent, preserving your favorite memories in one place.
Creative Projects to Try
- Napkin Decor: Impress dinner guests by stamping simple cloth napkins or paper napkins with a “made with love” motif.
- Table Settings: Stamp small place cards to mark each guest’s seat, adding an elegant finishing touch to any gathering.
- Envelope Embellishments: Send out party invitations or thank-you notes with a sweet, stamped image in the corner, giving recipients a preview of your creative spirit.
Choose the Perfect Stamp for You
Before you start stamping your kitchen creations, it’s important to pick the right tool. Whether you’re an occasional baker or a devoted crafter, the right stamp will bring your creative visions to life. At Acorn Stamps, we pride ourselves on crafting an array of custom and personalized stamps that blend both functionality and aesthetic appeal.
Factors to Consider
Stamp Material
- Wood-Mounted Rubber Stamp: Classic and reliable, rubber stamps on wooden mounts offer longevity and timeless charm.
- Self-Inking Stamp: Ideal if you need efficient, repeat impressions without constantly reapplying ink.
- Clear Acrylic Stamp: Perfect if you want to see exactly where you’re stamping, ensuring precise placement every time.
Stamp Size
- Small (1–2 inches): Offers a subtle accent on your packaging, recipe cards, or smaller surfaces.
- Medium (2–3 inches): Great for quick labeling or adding a clear, legible message.
- Large (4 inches or more): Ideal if you want your stamp design to become a focal point, such as on cloth napkins or the front of a gift box.
Customization Options
- Text or Graphics: Many designs include both words and handmade graphics—like hearts, whisks, or rolling pins—to reflect your personal style.
- Fonts and Layouts: Explore different font options to reinforce your creative theme—such as using a playful script for whimsical projects or a bold, modern font for a sleek aesthetic.
Why Consider Acorn Stamps
Acorn Stamps is a family-owned and operated business since 1964. That’s 60 years of dedicated service, helping crafters find the perfect custom-made stamp for their unique needs. When you shop with Acorn Stamps, you can count on:
- Stellar Customer Service: We listen enthusiastically to your design ideas and guide you toward the best solution.
- Super Fast Turnaround: Our experience allows us to produce your stamps efficiently, delivering quick results without compromising quality.
- A Wide Selection: From traditional wood-mounted options to self-inking designs, our range caters to every creative requirement.
Prepare Your Surfaces and Materials
One of the secrets to getting a clear, crisp impression from your kitchen made with love stamp is properly preparing both your stamp and your chosen surface. Whether you’re stamping paper, fabric, or ribbon, a bit of advance preparation goes a long way.
Tips for Paper
- Choose Quality Stock
Select heavier cardstock or specially coated paper to ensure that ink won’t bleed or feather. When you use higher-quality paper, your finished product will look more polished and professional.
- Test on Scrap Paper
Always do a trial run before you commit to stamping on your final surface. This helps you gauge ink saturation and confirm your stamp’s orientation—especially if your text has a directional component.
- Apply Consistent Pressure
Press down firmly and evenly, lingering just a moment longer than you think you need. Then lift your stamp straight off the page to avoid smearing or blur.
Tips for Fabric
- Pre-Wash and Iron
Washing your cloth beforehand can remove any finish or starch that might prevent ink from adhering. Ironing the fabric gives you an even surface, resulting in a sharper stamped image.
- Choose Fabric Ink
Many craft stores sell specific fabric inks or fabric paint that work well with rubber or acrylic stamps. Ensure the ink is set according to the product instructions (often by heat-setting) so it stays vibrant through wash cycles.
- Practice on a Scrap Piece
As with paper, do a test impression. Different fabrics absorb ink differently, so you might need to experiment with pressure and ink volume.
Tips for Ribbon or Other Surfaces
- Stabilize the Ribbon
Secure your ribbon to a flat surface with a bit of tape. This prevents shifting when you press the stamp down.
- Opt for a Thicker Ribbon
Narrow or flimsy ribbon can cause the stamp to slip or blot. A thicker, sturdier ribbon will be easier to work with and show off your design more effectively.
- Use Proper Ink
Not all inks are created equal. If your project is decorative and won’t be handled a lot, you can use standard water-based stamping ink. If it requires more durability, look for a permanent or archival formula.
Master Basic Stamping Techniques
Even the highest-quality stamp requires proper technique for best results. Being mindful of your setup, ink application, and alignment can mean the difference between a smudged design and a crisp, clear impression that proudly declares “made with love.”
Inking the Stamp
- Light Tapping Method
Gently tap your stamp onto the ink pad to avoid oversaturation. Doing so helps minimize snags or heavy spots that could blur your impression.
- Even Coverage
Check your stamp’s surface to make sure the ink covers the entire design, especially if your stamp includes intricate details. If any parts look dry, tap again, but avoid pressing too hard into the ink pad.
Positioning and Pressing
- Use a Steady Hand
Align the edge of your stamp with the area where you want the design. Move slowly to ensure you won’t shift mid-press.
- Press, Don’t Rock
Once in place, press directly downward. Avoid the temptation to rock or twist the stamp, since that can cause smudges. Lift straight up for the cleanest outcome.
- Double-Check Placement
If you’re new to stamping or working with a large area, marking a light guide (such as faint pencil lines on paper or a small chalk mark on fabric) helps you maintain proper alignment.
Cleaning Up
- Wipe Excess Ink
A good cleaning routine is essential. After finishing a session, gently wipe your stamp with a damp cloth or a specialized stamp cleaner. This removes any leftover ink, preventing buildup.
- Store Properly
Once your stamp is dry, store it in a cool, dry place away from direct sunlight. Keeping stamps face-up in a shallow container or drawer ensures the design won’t get damaged.
Incorporate Handcrafted Style Into Your Kitchen
Your kitchen stamp not only adds flair to homemade goodies, but it can also elevate the overall look of your cooking space. From labeling spice jars to organizing pantry containers, the “made with love” message carries a sense of warmth, turning routine tasks into delightful experiences.
Spice Jar Overhaul
- Streamlined Uniformity
Gather your jars, pick out matching lids, and set aside a day to create new labels. Stamp small circles or rectangles of cardstock, writing the spice name underneath your “made with love” mark.
- Extended Shelf Life
Include the date you purchased or packaged each spice. This quick reference helps you keep track of freshness.
Pantry Containers With Care
- Flour, Sugar, and More
Clear containers appear brighter and more pleasing when neatly labeled with a consistent theme. Stamp adhesive labels for flour, sugar, and specialized flours like almond or coconut flour.
- Handy Conversion Charts
If you often need measurement conversions, stamp or write them onto a cardstock you can keep taped inside your pantry door. Now all your essential info is in one convenient spot.
Giftable Kitchen Kits
- Create Personal Packages
Combine homemade cookie mix, recipe instructions, and your distinctive label, then bundle them all into a decorative box. Once the recipient tries your recipe, the stamped packaging remains a sweet reminder of your thoughtful gesture.
- Encourage Culinary Exploration
If you have a favorite spice blend or marinade recipe, consider packaging it with your stamped label and short instructions. Invite your friends or family members to craft their own dishes, feeling inspired by your personal touch.
Care for Your Stamp
A kitchen made with love stamp can last for years if properly maintained. Just like any beloved kitchen tool or crafting supply, giving it a little attention after use ensures it stays in top condition.
Regular Cleaning
- Mild Soap Solution
Warm water with a drop of mild dish soap often does the trick to remove stubborn ink. Gently scrub the rubber or acrylic surface, taking care not to damage the design.
- Dedicated Stamp Cleaners
If you stamp frequently, a specialized cleaner might be worth the investment. These solutions help prolong the life of your stamp by removing deep-set residues.
Proper Drying
- Pat It Down
Use a lint-free cloth to remove excess moisture. Make sure the gentle design details are dabbed, not rubbed vigorously.
- Air Dry
To avoid mildew or warping, allow your stamp to air dry fully before storing. If you’re short on time, place it near a fan or open window, monitoring for any sign of distortion.
Storage Tips
- Protect the Surface
Keep your stamp in an airtight container or a shallow drawer, design side up. Placing it facedown risks unwanted impressions or damage to the rubber.
- Maintain a Cool Environment
Extreme heat or direct sun can cause materials to degrade or warp. Opt for a closet or cabinet away from direct light sources.
Celebrate the Acorn Stamps Difference
With decades of experience, Acorn Stamps has been a trusted partner for crafters looking to bring their visions to life. When you invest in a kitchen made with love stamp or any other custom design from us, you’re not only getting a top-quality product, you’re also gaining access to:
- A Family Tradition Since 1964
Our roots run deep. We’ve spent 60 years perfecting our craft to ensure you have the best stamping experience possible.
- Stellar Customer Service
We approach every order with genuine care, helping you navigate designs, fonts, and multiple customization options.
- Quick Turnaround
We know how excited you are to start stamping! Our processes are streamlined so you can get your creation in hand sooner.
- Authentic Personal Touch
Each stamp is made with the same consideration we give to our own cherished projects. You deserve nothing less than a product that shows off your personality.
Spark Joy With New Ideas
Once you experience how versatile your kitchen made with love stamp can be, you’ll find yourself brainstorming new concepts all the time. Some might be festive, while others might be practical, but each of them helps you connect with the people who matter most.
Seasonal Inspirations
- Winter Wonderland
Stamp snowflake-themed tags or gift boxes for holidays. Combine your “made with love” message with whimsical images—like snowmen or frosty pine trees—to match the season’s spirit.
- Spring Renewal
Use pastels and nature motifs. For example, stamp a flower or leaf next to your message to celebrate the renewal of fresh ingredients during springtime.
Community and Party Projects
- Bake Sales
If you’re donating goods to a school fundraiser or community bake sale, stamping your packaging not only makes it more enticing, but also gives you a chance to promote your homemade brand or style.
- Family Reunions
Create commemorative items—like stamped paper plates for a potluck or stamped goody bags for a family barbecue. Loved ones will cherish the thoughtful detail.
Upscale Bottle Labels
- Homemade Beverages
Make your own lemonade concentrate, flavored syrups, or even homemade vanilla extract. A crisp, charming label featuring your stamp instantly upgrades your bottle’s presentation.
- Personal Touches
Add your signature or a small note about the ingredients. With a “made with love” theme, recipients will understand exactly how much care went into the creation.
Frequently Asked Questions
How Do I Clean My Kitchen Made With Love Stamp?
You can gently clean your stamp with warm water and mild soap. For stubborn ink, try a specialized stamp cleaner. Let it air dry completely before storage to get the best results.
Can I Use Regular Ink on Fabric?
Regular water-based ink may not hold up well on fabric. For longevity and color vibrancy, choose fabric-specific ink. Remember to heat-set your design if the instructions call for it.
What Surfaces Can I Stamp?
You can stamp on a variety of surfaces, including paper, cardstock, fabric, ribbon, cardstock boxes, and even some types of wood. Always test a small, hidden area first to gauge how well the ink adheres.
How Long Does It Take to Receive My Stamp From Acorn Stamps?
We pride ourselves on super fast turnaround. Typical arrival times can vary depending on your location and our workload, but we always aim to get your order to you as soon as possible. Contact us, and we’ll provide an accurate timeline.
Are Custom Designs Available if I Want a Different Style?
Absolutely. Acorn Stamps has specialized in custom and personalized stamps for decades. We can collaborate with you to create a stamp design that reflects your vision—right down to specific fonts, images, or layout preferences. By adding a warm, personal mark to your culinary endeavors, you share pieces of your creativity and love with every recipient. Whether you’re gifting homemade cookies at a neighborhood potluck or labeling your pantry essentials, your stamp transforms routine tasks into meaningful gestures. With just a little thoughtful planning, a well-chosen ink, and a dash of your own flair, you’ll be ready to proclaim every dish as truly “made with love.” And with Acorn Stamps by your side, your creative journey is just beginning.