A wreath made with love stamp can be the heart of your crafting projects. Whether you enjoy making personalized greeting cards, decorating scrapbook pages, or adding flair to gift packaging, this versatile tool elevates every piece you create. In fact, using a wreath made with love stamp instantly communicates thoughtfulness and artistry. When someone sees that gentle wreath shape and those loving words, they know there’s something special about your design. You’ll find that stamping this motif onto paper, cardstock, or even wrapping paper brings a cozy warmth to all sorts of crafts. And because you can experiment with different inks, colors, and embellishments, you have limitless ways to make each project unique.
In this guide, you’ll discover how to incorporate a wreath made with love stamp into cards, gift tags, home decor, and more. You’ll also learn best practices for selecting materials, ensuring crisp impressions, and caring for your stamp. From newbies looking to branch into craft stamping to seasoned makers searching for fresh inspiration, this article will help you make the most of every project. By the time you put down your stamp, you’ll see why crafters of all skill levels reach for this design time and again. Ready to start elevating your crafts? Let’s explore the many ways you can create beautiful pieces with a wreath made with love stamp.
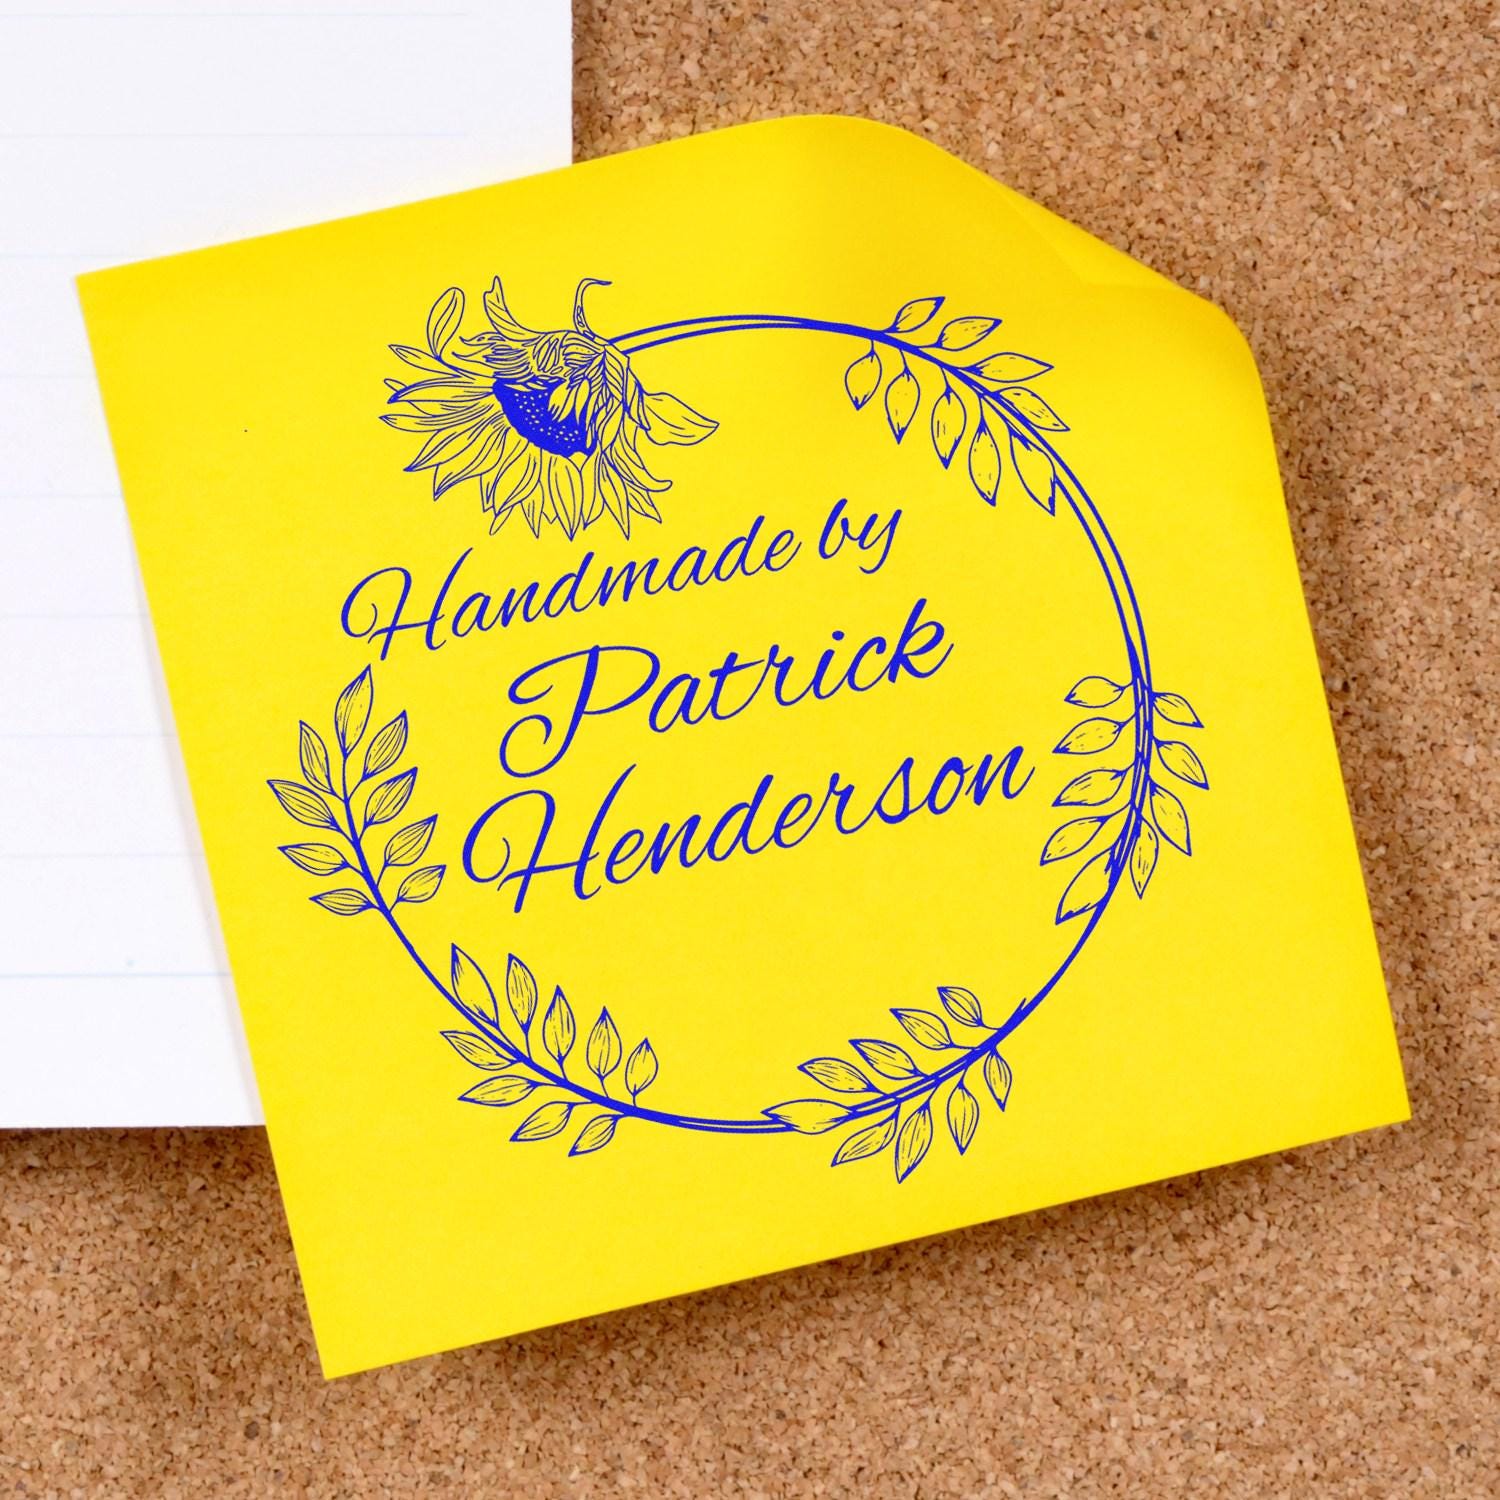
Discover the Wreath Made With Love Stamp
The wreath made with love stamp is more than just a simple image. It’s a symbol of warmth and personalized sentiment that can transform an ordinary item into a heartfelt keepsake. If you’ve ever admired the polished look of handmade cards or the intricate flair of lovingly decorated gift boxes, this stamp gives you the power to produce that same effect.
What Makes It Special
- Timeless Symbolism: Wreaths have long been associated with hospitality, circles of life, and celebration. When paired with a “made with love” caption, they promise the recipient a unique, carefully crafted piece.
- Invitations to Creativity: The wreath outline gives you room to include extra flourishes, like tiny flowers, metallic accents, or little gems tucked among the leaves. All these additions can further personalize your projects.
Using a wreath made with love stamp also adds versatility to your stash of craft supplies. You can adapt it for nearly every season or event, simply by choosing different ink colors or pairing it with assorted decorative elements. If you want to highlight a festive tone, reach for reds and greens. Looking for something airy and contemporary? Experiment with pastel or neutral inks. In short, you have the freedom to make this design your own.
How It Elevates Crafts
- Consistent Branding for Small Businesses: If you’re a seller on marketplaces or own a small store, this wreath design can appear on tags, product labels, or thank-you notes for an instantly recognizable flair.
- Uniquely Personal Touch: Stamping a wreath made with love label on the inside of a greeting card or on the back of a handmade item says you put real thought into creating something memorable.
- Easy Coordination: Because the wreath shape is simple, it pairs well with countless other elements in your crafts. If you want to wrap your gifts in floral paper or bright geometric prints, a wreath motif will still fit right in.
Gather Your Essential Materials
Before you start stamping, it helps to have the right supplies at your fingertips. Combining a durable stamp, quality ink, and the perfect surface ensures that every impression is crisp, clean, and exactly how you want it.
Choose Your Stamp Ink
An integral part of a beautiful stamp design is the ink quality. The type of ink you select can determine how sharp or smudged your result looks, as well as how quickly it dries.
- Dye-Based Inks: These water-based inks dry quickly and are less likely to smear. They’re ideal if you want to get started on layering or coloring your design right away.
- Pigment Inks: Known for their rich opacity, pigment inks sit on top of the paper slightly longer, giving you time to use techniques like embossing powder. For more vivid colors on darker papers, a pigment ink can be a wonderful choice.
- Hybrid Inks: If you like to switch between techniques, consider hybrid inks. They offer the quick-drying benefits of dye-based formulas while still allowing you to do some color blending.
Take an extra moment to test a small stamp image on a scrap piece of paper. Different papers and inks react in various ways, so that test impression helps you decide if you need to adjust your pressure or ink choice.
Paper and Surfaces
While cardstock is usually the go-to, you can also experiment with other surfaces to create a range of unique crafts:
- Cardstock and Scrapbook Paper: Sturdy enough for repeated stamping and available in many colors.
- Tissue Paper or Wrapping Paper: If you want to customize gift wrap, lighter materials like tissue or simple kraft paper can handle many dye-based inks.
- Tags and Stickers: Great for labeling handmade goods, sealing envelopes, or adding a branded touch to product packaging.
- Fabric: With the right fabric ink, you can even stamp on items like tote bags or tea towels. Just be sure to follow any heat-setting instructions on the ink.
Additional Embellishments
To really make your wreath made with love stamp pop, bring extra embellishments into the mix:
- Metallic Accents: Tiny gold or silver dots around the wreath can brighten a simple design.
- Colored Pencil or Marker Highlights: Add dimension by lightly coloring in the leaves or decorative elements of the wreath.
- Washi Tape or Ribbon: Frame your stamped image on a card or gift tag for extra vibrancy.
Gathering these materials in advance helps your creative process flow smoothly. You can switch from stamping to coloring to assembling, all without having to rummage around for the next tool or supply.
Create Stunning Handmade Cards
Perhaps the most popular way to put a wreath made with love stamp to use is on greeting cards. From birthdays to bridal showers or simple “thinking of you” notes, a beautifully stamped wreath speaks volumes about your effort and care.
Designing the Layout
When designing a card featuring a wreath made with love stamp, placement is key. Usually, the wreath becomes a focal point, but it doesn’t necessarily have to be front and center. Try offsetting the stamp toward one corner, then balance the composition with a sentiment stamp or a small die-cut shape on the opposite side.
- Consider an Accent Color: If your wreath outline is green, choose a color from the same palette for your sentiment or background layer. This visually ties the elements together.
- Experiment with Layers: Stamp multiple wreaths in lighter ink tones to create a background pattern, then stamp the main wreath in a darker ink on a separate piece of cardstock. Layer it on top with foam tape for a three-dimensional effect.
Stamping Techniques for Crisp Results
Getting a perfect stamp impression involves proper technique:
- Ink Evenly: Make sure the entire surface of your stamp is coated. Press the ink pad gently and repeatedly onto the stamp, rather than mashing the stamp into the pad.
- Apply Firm Pressure: Press straight down on the paper using moderate, steady pressure. Avoid rocking the stamp from side to side.
- Lift Carefully: Pull the stamp directly upward to reduce smudging or stretching of the design.
- Clean Between Colors: If you switch ink colors, wipe the stamp with a stamp cleaner or lightly rinsed cloth. Dry it completely before re-inking.
With these tips, each impression of your wreath made with love stamp will look clear and defined. It’s also a good idea to keep a few extra blank cards close by in case you want to experiment with color combinations or layering ideas.
Personalize Gift Packaging
While greeting cards might be the first go-to, you can just as easily transform gift packages with a wreath made with love stamp. The final effect is both polished and heartfelt — perfect for special occasions, holidays, or any time you want your present to stand out.
Gift Tags and Labels
Long gone are the days of generic gift tags. By using your wreath made with love stamp, you can create mini masterpieces that introduce your present in style.
- Match the Occasion: For a wedding or anniversary gift, try classic black or gold ink on a clean white tag. For a birthday or baby shower, experiment with bright, cheerful colors.
- Incorporate Names: Stamp your wreath, then handwrite the recipient’s name or initials in calligraphy at the center. You’ll look like a pro, and your handmade tag will likely end up saved as a keepsake.
You can also layer tags by having one with the wreath image and another with a handwritten note. Tie them together with string or ribbon, letting the stamped tag act as an elegant accent piece.
Wrapping Paper Ideas
Customized wrapping paper is simpler than you might think. Roll out a large sheet of plain kraft paper or solid-colored paper on a flat surface. Then:
- Scatter the Stamp: Randomly stamp the wreath design, spacing it consistently in rows or a pattern.
- Add Secondary Designs: If you have smaller accent stamps like hearts, tiny flowers, or initial letters, intersperse them for a personalized flair.
- Consider Two-Toned Inking: Use one color for the wreath and a complementary shade for smaller accent stamps.
This approach is fantastic for large-scale gift packaging. Plus, if you have leftover stamped paper, you can trim it into smaller sections for future projects. People receiving your gifts will notice the extra effort, especially when they see that “made with love” message threaded through every detail.
Elevate Your Home Decor
Your wreath made with love stamp isn’t just for cards and packaging. Integrating it into everyday home decor can bring a subtle handcrafted charm to your living space. From hanging ornaments to seasonal centerpieces, a simple stamp can do so much.
DIY Wall Art
Consider piecing together a grid of small stamped images to create a gallery-style artwork. For instance, stamp the wreath on different textured papers — maybe pages from old books, music sheets, or watercolor-washed backgrounds. Frame each miniature piece in a single collage frame or arrange them in a row of matching frames.
- Keep a Unified Theme: Even if you switch papers or background colors, make sure you use a consistent wreath stamp and ink color. This keeps the final collage looking cohesive.
- Add Hand-Lettering: Write an inspirational word or short phrase around the wreath to create a sentimental focal point.
Seasonal Wreath Projects
Because the wreath is such a versatile design, you can adapt it for any season. In spring, stamp your wreath in pastel inks on egg-shaped cutouts for an Easter centerpiece. In autumn, choose warm reds, oranges, and browns for a cozy harvest decoration. The “made with love” aspect can be woven in, reminding you and your guests of the care behind each piece. If you like working on larger decorations, try stamping on lightweight wood slices or sturdy cardstock circles. Then string them together in a garland to hang across a mantel or doorway. A wreath made with love stamp can be repeated along the garland, with other seasonal elements in between to keep things fresh and visually interesting.
Use It for Small Business Branding
Crafters who sell products know how essential branding can be. Customers remember the little details — the label, the thank-you note, the special wrapping. By incorporating a wreath made with love stamp into your packaging, you can further highlight the handcrafted quality that sets your small business apart.
Packaging and Thank-You Notes
Imagine a customer’s face when they open a delivery and see tissue paper sealed with a dainty stamped wreath sticker. Or they unfold a sweet note that includes your custom logo, tagline, and the phrase “made with love.” Details like these reinforce the idea that your business cares about quality from start to finish.
- Thank-You Cards: Stamp the wreath on the front of a small notecard, then write a personal message inside. Make sure it matches the tone of your brand, whether it’s fun and whimsical or elegant and refined.
- Packaging Inserts: Along with your products, you can slip in a stamped card that offers care instructions, a discount code for a future purchase, or simply a heartfelt thank-you.
Reinforcing Brand Identity
A wreath design symbolizes unity and growth — powerful concepts for a small business. Pairing that with a “made with love” message tells customers you pay attention to every detail. If you ever feel the wreath layout is too casual for your brand, consider a more minimalist version. You can still stamp it in a muted color and keep any additional decoration subtle. This way, the message stays consistent across all your product lines. Think about the color palette you want to use for your brand. If you prefer a signature shade — perhaps teal, lavender, or rose gold — keep that color consistent in your stamp ink, tissue paper, and even your shipping labels. The repetition of the wreath design, combined with a unifying color, helps your brand stand out in a competitive market.
Maintain and Store Your Stamp
A quality wreath made with love stamp should last you for many years, especially if you take good care of it. Proper cleaning and storage will ensure it always leaves a crisp, detailed impression on paper or fabric.
Proper Cleaning Techniques
- Clean Right After Use: Wipe away excess ink with a slightly damp cloth or dedicated stamp cleaner. This prevents ink from drying in the detailed parts of the wreath.
- Use Gentle Pressure: Scrubbing too hard, especially with harsh cleaning agents, can degrade the stamp surface over time.
- Dry Thoroughly: Pat or air-dry your stamp so there’s no lingering moisture. This step is key before storing the stamp in an enclosed container.
Long-Term Storage
Where you store your stamps can impact how well they perform:
- Keep Them Flat: Laying your stamps faceup in a drawer or box, rather than stacking them, helps maintain their shape.
- Avoid Heat and Sunlight: Hot or very sunny conditions could warp the rubber or polymer material.
- Use Protective Sleeves: If you happen to have a clear sleeve or compartment case for stamps, it keeps dust away and allows you to categorize your collection.
With consistent care, your wreath made with love stamp remains a go-to tool for brightening cards, gift bags, small business packaging, and more.
Why Choose Acorn Stamps
When you’re ready to invest in a quality stamp that lasts for years, consider Acorn Stamps, a family-owned and operated business since 1964. For 60 years, crafters and professionals alike have relied on Acorn Stamps for custom-made and personalized designs. Their commitment to stellar customer service sets them apart — they understand how important it is for you to receive exactly the stamp you envision. Whether you’re ordering your first wreath made with love stamp or adding to an existing collection, you can count on:
- Super-Fast Turnaround: Acorn Stamps handles orders quickly so you can start stamping as soon as possible.
- Top Supplier for Custom Work: Need a unique variation? They can tailor a wreath design with special text or subtle tweaks to fit your style.
- Consistent Quality: Every stamp you order from Acorn Stamps arrives with precise lines and sturdy construction.
If you’re hoping to brand your crafts without compromising on design integrity, Acorn Stamps has the expertise to make it happen. From intricate logos to whimsical flourishes, their team is committed to ensuring you have what you need for your next big project.
Frequently Asked Questions
Can I Use the Wreath Made With Love Stamp on Fabric?
Absolutely. You’ll need to choose a fabric-friendly ink, often labeled as fabric ink or permanent ink. After stamping, you may need to heat-set the design (using an iron or hot press) depending on the manufacturer’s instructions. This ensures the ink won’t wash out later. Always do a small test on scrap fabric to confirm the results before stamping your final project.
What Ink Works Best for Detailed Stamps?
Dye-based inks are often recommended for capturing fine details because they’re thinner and can settle into the intricate lines of a stamp more easily. Pigment inks can also work for detailed designs if you don’t mind giving them a bit more drying time. For an even crisper appearance, look for “detail” inks specifically formulated to highlight small stamp lines.
How Do I Keep My Stamp From Smudging?
Preventing smudges starts with the right amount of ink and careful stamping technique. Rather than pressing the stamp into the ink pad, tap the ink pad lightly across the stamp surface for even coverage. Press the stamp firmly onto your paper or surface, then lift it straight up. If you want a second impression, clean and re-ink the stamp rather than trying to stamp it again without adding fresh ink.
Do You Offer Custom Variations of the Wreath Stamp?
Yes, if you’re ordering from Acorn Stamps or another custom stamp maker, you can often request changes such as removing or replacing the “made with love” text, adding a date, or incorporating a personal name or monogram. Just reach out with your ideas, and they’ll let you know what’s possible. Customizing your wreath stamp is a fantastic way to create a signature style.
How Quickly Will My Stamp Arrive?
With Acorn Stamps, you’ll typically receive your stamp fairly quickly due to their super-fast turnaround times. Shipping estimates can vary depending on where you’re located and whether you’re placing a custom order. However, many customers receive their stamps within a week or two in most standard shipping scenarios. Be sure to check with Acorn Stamps directly for the latest information on shipping and lead times.
Crafting with a wreath made with love stamp is an easy way to add personality and warmth to everything you create. From simple greeting cards to elaborate wait-till-they-see-this gift packaging, the thoughtful details will shine through. Try incorporating one of these suggestions into your next project. Once you see how friends, family, or customers react to your handmade pieces, you’ll be ready to delve even deeper into the endless possibilities. Before you know it, stamping will become a treasured part of your creative routine — a small, loving detail that truly makes a difference.