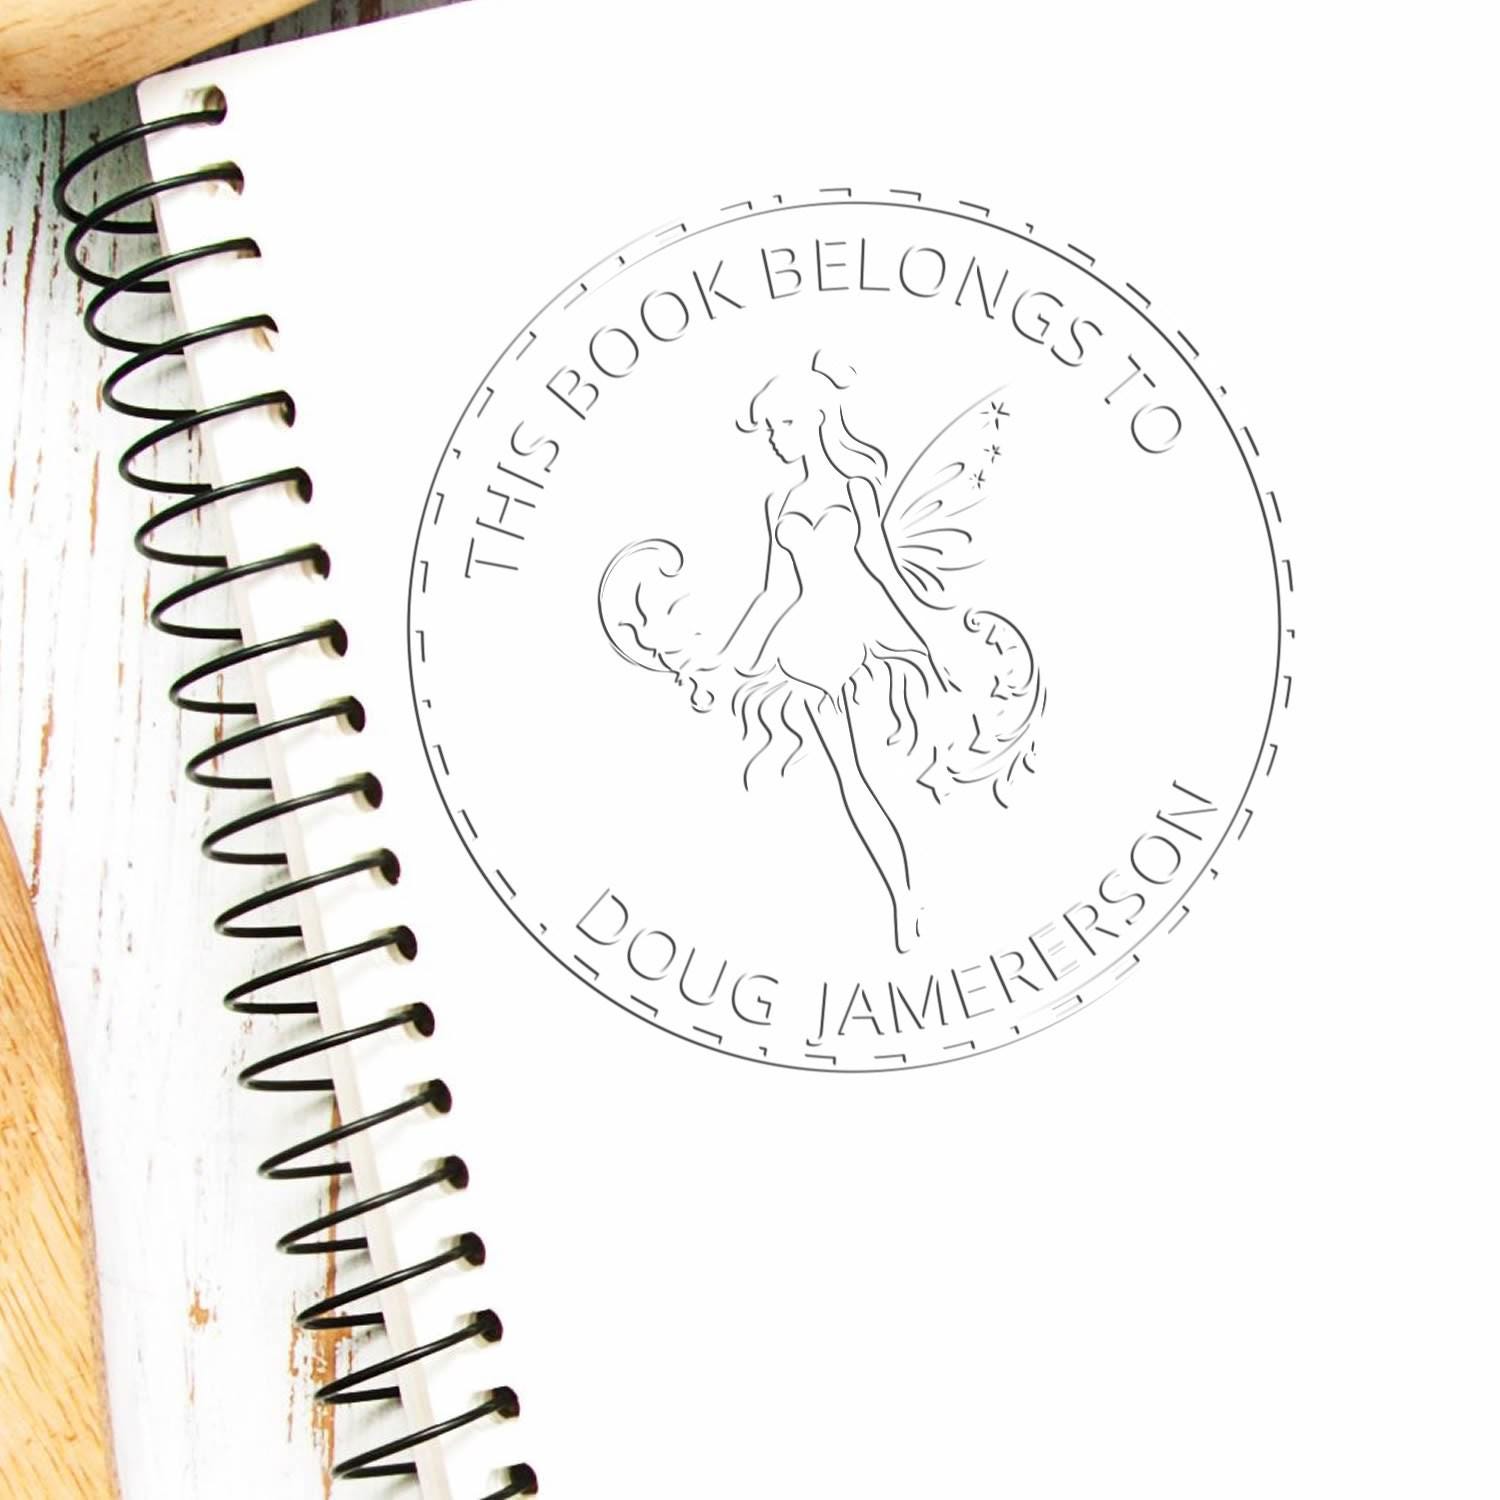
Discover Wedding Embosser Seals
A wedding embosser seal is an elegant tool that helps you add a personal, memorable touch to every part of your celebration. You simply press a custom-designed die onto paper, cardstock, or other materials to create a raised impression of your names, initials, or a chosen design. When you incorporate an embosser seal into your wedding stationery, you show your guests that you care about every detail, from your invitations and place cards to your thank-you notes after the festivities have concluded. This personal approach not only strengthens your theme but also conveys your style, helping your big day stand out in a sea of ordinary stationery.
Whether you are the bride, the groom, or a close friend looking to give a cherished gift, a wedding embosser seal can transform standard stationery into tiny works of art. It is an especially thoughtful present for a design-forward couple or anyone hoping to commemorate their wedding in a creative, lasting way. Below, you will find helpful tips on choosing the right wedding embosser seal, along with practical ways to use it before, during, and after the big day.
Understand the Importance of Personalization
Customizing your wedding details is a stellar way to ensure your celebration reflects who you are as a couple. You might pick a specific color palette, a favorite typeface, or a meaningful motif drawn from your shared interests. A wedding embosser seal seamlessly complements these efforts, enabling you to incorporate your personal flair into everything from the envelopes that hold your save-the-dates to the napkins at your reception.
Why Personalization Matters
- It creates a unified visual experience for guests.
- It turns everyday materials (like paper and cardstock) into keepsakes.
- It helps you stand out from traditional, mass-produced stationery.
- It lets you share your story and make guests feel more connected to your journey.
When to Introduce Your Embosser Seal
- Save-the-date announcements
- Formal invitations and RSVP envelopes
- Ceremony programs
- Reception menus
- Thank-you cards
By weaving this personal embosser seal into your storytelling, you create a lasting impression that lingers with friends and family.
Explore Creative Uses of a Wedding Embosser Seal
Your wedding embosser seal goes beyond just invitations. Think of it as a brilliant finishing tool that can enhance nearly every piece of your celebration, both before and after you say “I do.”
Invitations and Stationery
- Embellish the flap of your envelopes with a raised impression of your initials.
- Add detail to the top edges of your invitations, RSVP cards, or direction inserts.
- Stamp monograms at the corner of tissue paper wrappings for a purposeful, polished feel.
Signage and Decorations
- Emboss corners of signs directing guests to specific areas, like the bar or photobooth.
- Customize garlands, place cards, or table numbers.
- Highlight your wedding hashtag, or a favorite quote, on decorative signs.
Reception Details
- Tuck embossed napkins into place settings.
- Create personalized favor bags for sweet treats or small keepsakes.
- Use embossed tags to label signature cocktails at the bar.
Post-Wedding Touches
- Emboss thank-you notes so guests recall the elegance of your wedding day.
- Seal keepsake envelopes that store special photos or mementos.
- Continue using your embosser for anniversary invites or other life milestones.
Choose the Right Design for Your Day
Designing a wedding embosser seal begins with thinking about patterns, text, and motifs that resonate with you and your partner. Keep your broader wedding theme in mind, whether it is classic, rustic, modern, or whimsical, and look for elements to highlight through your seal.
Elements to Consider
- Font Style:
Script fonts exude romance and tradition. Sans-serif or handwritten fonts feel more casual or contemporary. Bold, serif fonts can lend a timeless, high-end vibe.
- Initials or Full Names:
Some couples prefer a simple monogram of their initials. Others want their full names arranged in a balanced layout. You can combine both personal names and the wedding date for a more memorable look.
- Graphic Motifs:
Decorative flourishes and borders add sophistication. Floral elements are romantic and tie in with wedding bouquets. Minimalist lines mirror a sleek, modern aesthetic.
- Special Messages:
Incorporate a small phrase like “Tied the Knot” or “Mr. & Mrs.” Add your wedding date for guests to remember later. Capture a meaningful phrase like an anniversary motto or a family crest design.
Tips for a Cohesive Look
- Use color contrasts if you plan on embossing onto darker paper. A raised, colorless impression stands out when you choose paper with a subtle sheen.
- Opt for complementary fonts and motifs across your wedding website, invitations, and other stationery. This keeps the look consistent and inviting.
- Consider having a primary motif for the embosser seal and use a smaller version (like a small icon) throughout other design elements.
Consider Materials and Quality
When it comes to your wedding embosser seal, the construction of the embosser and the paper you use can greatly affect the final appearance. You want a crisp impression that highlights the intricacy of your design.
Types of Embossers
- Handheld Embossers: Portable, easy to store, great for quick tasks like sealing envelopes or marking smaller items.
- Desk Embossers: A more heavy-duty option that sits on a flat surface for improved leverage, better for large batches of invitations or thicker papers.
Paper Choices
- Cardstock is a popular choice for invitations, offering a firm surface that captures details.
- Vellum can be layered over thicker cards for a dreamy, translucent look.
- Textured Papers like linen or cotton can be used, but test the embosser to ensure the impression remains sharp.
Achieving a Crisp Impression
- Ensure you have a clean, dust-free surface before embossing.
- Align the paper carefully, so the seal appears straight and centered.
- Apply firm, even pressure to capture all the details of your design.
Enjoy the Benefits of Working With Acorn Stamps
When you want a wedding embosser seal that reflects your story and does not skimp on quality, you deserve a partner dedicated to making your vision come to life. Acorn Stamps, a family-owned and operated company since 1964, offers over 60 years of expertise in creating custom seals and personalized embossers. Our team believes that every couple should have a smooth, enjoyable experience while customizing wedding details, from the initial design to the final product at your doorstep.
What Sets Us Apart
- Top Supplier of Custom Seals
Our vast selection of templates, fonts, and design concepts helps you discover or fine-tune a look that truly reflects your wedding style.
- Stellar Customer Service
We value every question and request you may have. Our friendly representatives walk you through the ins and outs of creating the perfect embosser, ensuring complete satisfaction from start to finish.
- Super Fast Turnaround
We know that wedding timelines can be tight, so we prioritize efficiency without sacrificing quality. Our quick production schedule is designed to get your embosser to you as soon as possible.
- 60 Years of Service
As a family business, we have built a legacy of craftsmanship and reliability. You can relax knowing we stand by the quality and longevity of each product we create.
How We Support Your Embossing Journey
- Design Consultation: Share your ideas, color palettes, or special themes. We guide you through the designs that suit your needs best.
- Quality Control: Each seal is meticulously checked to ensure crispness and durability.
- Easy Reordering: Need extra embossers or additional plates in the future? We store your design specs for a smoother reorder process.
Save Money and Time With Smart Planning
An eye-catching wedding embosser seal does not need to break your budget. Once you have your custom embosser, you can apply the raised design to various items again and again, skipping extra label or sticker costs. Plus, you cut out the time it takes to handwrite complex details because a single press gives you a uniform, polished impression.
Combine Tasks
- Order your invitations, RSVP cards, and place cards at once so you know how many you will emboss upfront.
- If you are using the same motif on other items (programs, favor tags, thank-you cards), print extra or recheck your final headcount to avoid running short.
- Consider bundling your embosser purchase with other wedding-related stamps or stationery items.
Budget-Friendly Tips
- Shop off-season for paper and card materials to catch sales or promotions.
- Opt for subtle designs that highlight your custom seal rather than printing multiple layers of color.
- Ask for samples to see how your chosen paper and embosser design look together before investing in large quantities.
Step-by-Step Guide to Designing Your Embosser
Once you have an idea of how you want your wedding embosser seal to look, here is a straightforward path to making it happen.
1. Gather Inspiration
Collect images, font samples, and even color swatches that capture your wedding’s vibe. Visit stationery shops, browse online galleries, or check out wedding forums for design ideas. This mood board will come in handy when you discuss your concepts with a design team.
2. Choose Your Layout
Sketch a rough design showing where you want your initials, names, or date. Decide which lines or shapes might complement the text. You might prefer a circular border, a floral wreath, or a simple rectangular border to frame your details.
3. Work With a Professional
Reach out to an experienced provider like Acorn Stamps. Discuss your ideas, get professional input on sizing and placement, and request a proof or mockup of the final design. Confirm details such as:
- Embosser size (common diameter ranges: 1.5 to 2 inches or more)
- Die orientation (for top or bottom of a page)
- Type style or font options
4. Request Revisions as Needed
If something seems off, now is the time to tweak spacing, font sizes, or decorative elements. Confirm that every letter is spelled correctly, names, dates, and any phrases you include.
5. Place Your Order
Double-check the final proof one last time, then place your order. Keep an eye on the production timeline if you plan to start embossing invitations soon.
6. Test the Embosser
Upon receiving your embosser, try it on different paper stocks. Make sure the impression is crisp and you are satisfied with the depth and detail. If you run into any issues, do not hesitate to contact your provider.
Incorporate Your Seal Throughout Your Celebration
With your wedding embosser seal ready to go, you can let your creativity shine. Consistency is key when building a wedding aesthetic, so look for ways to apply your design across multiple elements of the big day.
Before the Wedding
- Engagement Announcements: If you plan to send a formal note about your engagement, emboss the corners of the cards or the envelope flaps.
- Bridal Shower Invites: Help tie all festivities together by carrying your motif into pre-wedding events.
- Wedding Website: If you are tech-savvy, scan or photograph your embossed design and include it for subtle branding on your wedding site.
During the Wedding
- Welcome Signs: Emboss small paper corners for your greeting sign or add embossed tags if you offer keepsake items like fans or programs.
- Guest Book Cover: Personalize the front page with your raised seal.
- Reception Table Settings: Embossed menus or place cards tie the décor together, leaving a lasting impression on guests.
After the Wedding
- Thank-You Cards: Show guests the same thoughtful touch you gave your wedding invitations by embossing your gratitude notes.
- Scrapbooks: Emboss borders in any scrapbook pages that highlight your wedding photos or honeymoon memories.
- Anniversaries and Beyond: Reuse your seal for milestone announcements or vow renewal invitations.
Troubleshoot Common Embossing Concerns
Embossing is typically straightforward, but it helps to know how to handle minor snags.
If the Impression Is Faint
- Check your paper thickness. Some papers are too thin to hold a deep crease, while others are too thick to press neatly.
- Apply more pressure if you are using a handheld embosser. Sometimes a gentle squeeze is not enough to capture fine details.
If the Design Looks Blurry
- Make sure your die is free from dust or debris. A microfiber cloth can help clean the surface.
- Align your paper so the edges of the embosser match up correctly with the layout on the die.
If the Positioning Is Off
- Mark a light pencil line on the back of the paper to guide your placement. Erase it carefully afterward.
- Practice a few times on scrap paper until you feel comfortable with the motion and alignment.
Elevate Your Stationery With Expert Tips
A few thoughtful considerations can turn your embossed details from “nice” to “absolutely stunning.”
- Highlight with Metallic Inks: If you want your seal to stand out, gently rub a metallic ink pad over the raised area for a shimmery, eye-catching effect.
- Layer With Vellum: Place a sheet of translucent vellum over your embossed invitation or program for a dreamy, layered look.
- Experiment With Custom Plates: Some embossers let you switch out plates, so you can have multiple designs (monogram, family crest, wedding date) and swap them as needed.
- Store Carefully: Keep your embosser in a dry place, away from direct sunlight or humidity, which could warp the die over time.
Frequently Asked Questions
Will a wedding embosser seal damage thin envelopes?
With proper technique, most envelopes and stationery can handle being embossed without tearing. Check the thickness of your envelopes and test a sample first. If you notice any tearing, switch to a slightly sturdier paper stock.
How far in advance should I order my wedding embosser seal?
It is wise to order your embosser at least a month or two before you plan to send out invitations. This gives you time to finalize your design, receive the product, and practice using it before tackling a large batch.
Can I use an embosser seal on materials other than paper?
Yes. You can often emboss thin cardboard, parchment, light leather, or even certain fabrics if they can hold an impression. Always test a piece of your chosen material to ensure it embosses cleanly.
What happens if my design changes after the initial order?
If you need to update your name layout or other details post-wedding or for future events, you can order a new embossing plate if the embosser model allows for swapping. Contact your provider to learn more about the specific product you purchased.
What makes Acorn Stamps a good choice for wedding embossers?
Acorn Stamps has been family-owned and operated since 1964. We provide decades of experience, stellar customer service, and a super fast turnaround. We help couples perfect every detail, ensuring that your wedding embosser seal arrives on time and matches your vision exactly.
A beautifully designed wedding embosser seal can give your celebration a strong sense of character. From the very first touchpoint, save-the-date cards, to the final wave of thank-you notes, it speaks volumes about the thought and care you pour into your wedding day. When your guests see that raised impression, they will instantly know that love and creativity went into every detail.