If you have ever wanted to add an extra dose of holiday magic to your gift-giving routine, a unique santa tag may be just the ticket. By adorning presents with creative and whimsical tags, you can transform every package under your tree into a memorable moment. Best of all, you do not need complicated techniques or expensive tools to achieve a stunning look. With a bit of creativity, you can easily make your holiday gifts stand out and show loved ones how much you care.Below, you will find a complete guide to crafting, personalizing, and displaying a santa tag. You will discover how to choose materials, experiment with designs, and even incorporate custom stamps to give each tag its own flair. Whether you plan to keep things simple or dazzle friends and family with playful textures and colors, you can tailor the process to your unique style. Read on to learn how to create an unforgettable gifting experience this holiday season.
Celebrate the Tradition of Santa Tags
Santa tags have captured the hearts of crafters and gift-givers for generations. They offer a lighthearted nod to the excitement and anticipation of Santa’s arrival, while also adding a personalized note to each gift you give. For children, these tags can spark imagination and delight. For adults, they bring an instant feeling of nostalgia and warmth.
Why Santa Tags Are So Beloved
- They remind you of childhood memories and the fun of leaving cookies for Santa.
- They let you add messages, jokes, and names, enhancing the personal touch of each present.
- They can be as minimalistic or as elaborate as you like, suiting every style of holiday décor.
When you attach a santa tag, you are essentially gifting a small moment of joy right alongside what is inside the box or bag. It is a tiny detail that can have a big impact, turning an ordinary present into something far more memorable.
Select the Right Materials
Before you begin stamping or decorating, you need to gather the right supplies for your santa tags. The materials you choose will shape the look and feel of each piece, so it is worth investing a little thought into which elements you prefer. Solid card stock, festive embellishments, and quality adhesives can all play a role in bringing your tags to life.
Choosing a Sturdy Paper
- Card Stock: Opt for medium to heavyweight card stock in bold holiday colors or muted neutrals. You want something durable enough to withstand handling, packing, and arranging.
- Textured Paper: If you want an upscale twist, choose paper with a subtle pattern or embossed design. Keep in mind that heavy textures can affect how ink from stamps behaves.
- Recycled Paper: For a rustic vibe, try recycled or kraft paper that matches a more earthy holiday aesthetic.
Gathering Additional Supplies
- Cutting Tools: A pair of sharp scissors or a craft knife will help you shape each tag. You can also use a circular or rectangular punch to create uniform, professional-looking edges.
- Adhesives: Choose double-sided tape or glue dots for attaching embellishments or securing layers of paper. Some crafters also love hot glue guns for attaching heavier decorations.
- Ribbons and Twine: You will need a way to attach your tags to gift bags, baskets, or wrapped boxes. Festive ribbons, baker’s twine, and metallic thread all work nicely.
Having the right materials ready before you start can save you time and ensure that each santa tag ends up looking polished.
Design Personalized Santa Tags
Design is where you can truly let your creativity flow. The symbol of Santa usually takes center stage, but you can interpret it in countless ways. Some tags might feature a simple silhouette of Santa’s hat, while others could present a detailed illustration of the jolly old man himself. Think about which design elements feel most appealing to you.
Experiment with Shapes and Sizes
- Classic Rectangles: The simplest form is a small to medium rectangle punch or cut-out. This classic shape looks neat against wrapped gifts and makes writing messages easier.
- Rounded Corners: If you prefer a softer look, use a corner punch or small scissors to round off the edges of rectangular tags.
- Whimsical Silhouettes: Step out of your comfort zone by shaping tags in the form of Santa’s hat, boots, or even reindeer antlers for more playful appeal.
Incorporate Holiday Colors and Imagery
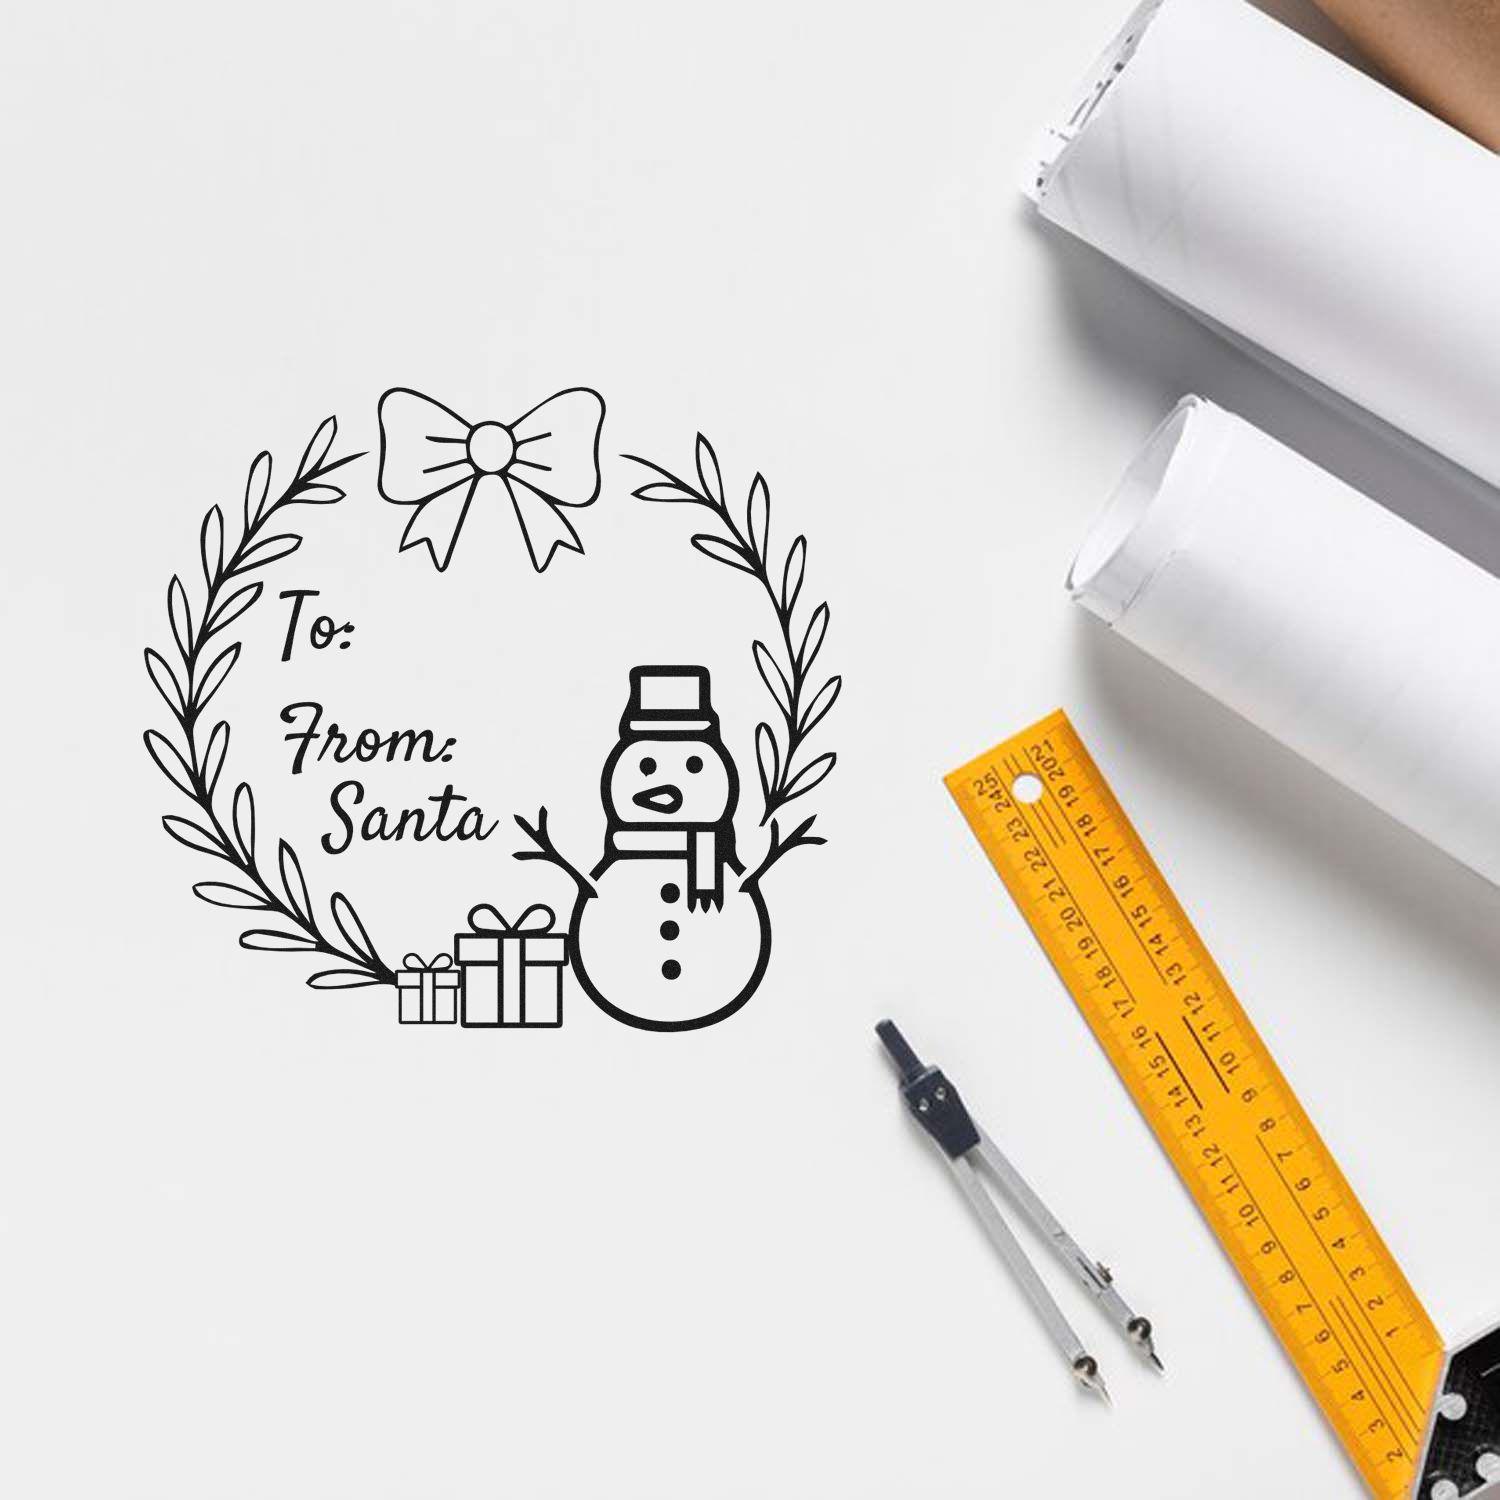
- Traditional Palettes: Red, green, gold, and white remain the most common décor colors for Christmas. Pair them with black ink stamps for crisp, high-contrast designs.
- Modern Twists: If you like a modern feel, lean toward soft neutrals like beige, pale gray, or even blush pink.
- Seasonal Motifs: Add subtle references to pine trees, candy canes, or snowflakes. These small visuals can accent your santa tag without distracting from the main focus.
Add Festive Embellishments
Once you have the basic shape and color scheme in mind, add dimension and style through thoughtfully chosen embellishments. A little sparkle or texture can elevate your santa tag from ordinary to inspiring. Keep in mind that too many embellishments can clutter your design. A balanced approach helps each detail shine without overwhelming the entire tag.
Ribbons, Bows, and Twine
Threading a decorative ribbon through the top of a tag keeps everything cohesive. You might opt for simple twine for a rustic aesthetic, or choose silky, oversized bows for a more luxurious effect. Consider layering ribbons of different widths or tying them in fun knots to give each tag a bit of charm.
Glitter and Metallic Accents
You can add subtle sparkle by brushing a light layer of glitter on Santa’s hat or sprinkling metallic confetti onto the edges of the tag. If you want a tidier approach, look for metallic pens or foiling materials. These methods add shine without the potential mess of loose glitter.
Washi Tape Details
Washi tape comes in a huge variety of designs and is simple to work with. You can layer strips in festive patterns along the edge of the tag or create a decorative border around the text area. The best part is that washi tape can be repositioned easily, making it forgiving if you decide you want to change the layout.
Use Custom Stamps from Acorn Stamps
One of the easiest ways to decorate your santa tag is by using pre-designed or custom-made stamps. At Acorn Stamps, you have access to a wide range of holiday-themed options that instantly bring your tags to life. As a family-owned and operated business since 1964, we take pride in offering crafters everywhere top-notch service, fast turnaround times, and high-quality craftsmanship.
Benefits of Using Custom Stamps
- Unique Designs: If you have a specific Santa illustration or phrase in mind, Acorn Stamps can create a custom stamp that matches your vision exactly.
- Consistent Impressions: Each time you press your stamp down, you get the same crisp and clean image on every tag. This is a huge time-saver for large-scale crafting projects.
- Personalized Messages: Add a personal touch by including your family name, a short holiday greeting, or even a pun that will make the recipient smile.
Tips for Stamping Perfectly
- Practice First: Before stamping your tags, test the stamp on scrap paper to see how much ink you need.
- Use the Right Ink: Dye-based or pigment inks both work, but pigment inks might need more drying time. Make sure you choose an ink suitable for your chosen paper.
- Press Firmly and Evenly: Apply even pressure for a consistent look. Avoid rocking the stamp or lifting too soon.
Incorporate Santa Tags into Gift Wrapping
Putting a santa tag on a wrapped present can feel symbolic, like sealing a letter with a special stamp. The gift tag not only clarifies who the gift is for, but also adds a decorative pop that highlights the care you have put into your holiday preparations.
Coordinate Colors and Patterns
If your gift is wrapped in a bold, festive paper, use a simpler santa tag design to avoid clashing. On the other hand, if your gift wrap is understated, feel free to explore vibrant or intricate designs. Balancing the color palette between wrapping paper and tag ensures a cohesive presentation.
Vary Placement
There is no rule stating your santa tag must always dangle from a ribbon at the corner of a gift. Try placing it off-center, tying it near the bow, or attaching it under a decorative band of paper. For gift bags, secure the tag just under the handle. These small details prompt recipients to notice the tag immediately.
Experiment with Fun Finishing Touches
If you want your santa tag to stand out on a completely new level, think about what extra flourishes might add personality. From sprigs of greenery to quirky tie-ons, these finishing touches can transform a simple package into a standout centerpiece beneath the tree.
Natural Elements
- Sprigs of Pine: Fresh or faux pine branches lend a classic holiday fragrance and a bit of rustic charm.
- Cinnamon Sticks: Tuck a piece of cinnamon stick behind the tag or tie it on with twine to give off a warm, spicy scent.
Ornaments and Charms
- Mini Ornaments: Clip a small bauble or miniature ornament to the tag, turning the wrapping into a decorative gift in and of itself.
- Jingle Bells: Interested in auditory ambiance? Thread a jingle bell onto the ribbon so it chimes whenever the gift is moved.
Handwritten Notes
Use the blank space on the back of your santa tag for personal messages that let the recipient know exactly how you feel. You can write a heartfelt holiday wish, share a meaningful memory, or simply jot a short “Merry Christmas.” This personal touch makes your gift feel even more special.
Wrap Up Your Santa Tag Creations
When you finish crafting your santa tags, you are not just adding labels to gifts, you are creating miniature pieces of holiday cheer. Each tag tells a story, reflecting your personal taste and the unique spirit of the season. By combining quality materials, a thoughtful design, and a dash of creative flair, you can delight friends and family members with tags they will want to keep long after the holidays are over.Acorn Stamps is proud to support crafters like you with custom stamps and seals designed to make your projects shine. We have been in business for 60 years, and we love seeing how different customers interpret our stamp designs, especially around the busy holiday season. No matter what aesthetic you gravitate toward, we are here to help you add that personal, magical spark to your Christmas gifting.If you have never designed your own holiday gift tag before, now is the perfect time. Pick a day to gather all your supplies, play holiday music in the background, and invite friends or family to craft alongside you. You will be amazed at how simple it is to create a stack of gorgeous tags in just an afternoon. Then, watch as your loved ones’ faces light up when they see how carefully and creatively you have dressed up their gifts.
Frequently Asked Questions
What Type of Ink Works Best for Santa Tags?
You can use dye-based or pigment inks for stamping your santa tag. Dye-based ink dries faster, which is great for quick projects, while pigment ink often produces more vibrant colors but needs extra time to set.
How Can I Make My Santa Tags More Kid-Friendly?
If little ones will be helping you, consider pre-cut tags and let them add stickers or color with markers. Avoid heavy embellishments like loose glitter, and opt for washable inks in case of spills or smudges.
Where Do I Purchase Custom Stamps for Santa Tags?
You can find custom stamps at Acorn Stamps, where you can request a specific design or choose from ready-made holiday themes. We pride ourselves on fast turnaround times and decades of experience.
Do I Need Special Tools for Shaping the Tags?
Basic craft tools like scissors or a craft knife are sufficient for shaping your tags. A punch can help if you want a uniform shape or rounded corners. If you prefer a more unique form, freehand cutting is a great way to personalize each tag.
What if I Want a Minimalist Look?
A minimalist santa tag is entirely possible. Choose a light background, simple outline of Santa or a hat-shaped silhouette, and use a neutral ink color. Then tie it onto your gift using plain twine for a clean, modern twist.
Remember, there is no right or wrong way to create a santa tag. The magic lies in capturing the festive spirit of the holidays and shaping it in a way that speaks to you. By focusing on care, creativity, and personal touches, you can transform simple supplies into cherished keepsakes that bring joy to everyone on your gift list. Enjoy exploring new ideas, and have a wonderful time crafting your own distinctive, heartfelt mementos this Christmas season.